2nd Grade Fall Tree Silhouettes
Autumn is known for colorful trees and vibrant warm colors. In honor of Autumn, we talked about the colors we see most frequently during fall and where we see these colors in organic settings. We created an artwork that revolved around autumn colors and the terms silhouette and organic shape. Second grade students focused on the colors and created a fall-inspired sunset using organic lines. We discussed the shape of trees and how we can represent them as a silhouette. Students worked independently to create the shape of their tree, their organic sunset, and add decorative elements to their background. Decorative elements were to mirror their warm, organic lines in their background and help enhance the overall setting.


10/10/2013
Observational Drawings
During the beautiful fall weather, 2nd grade students took a trip outside to collect various objects from the natural surroundings of FCCDS. The students collected basic elements including sticks, rocks, and leaves. We laid them out on the tables and discussed contour lines. I told them that sometimes, artists draw objects the way they think they look, instead of how they actually look. I had the students draw the stones and leaves, paying careful attention to detail, but only looking at their paper for 50% of the drawing time. The other 50% was spent looking at the objects and "drawing what they see, not what they know." I was very impressed with the results! The time and details they put into their drawings showed they understood the concept.
The second part of the project included adding color on the background. We took another hike around the school and collected vibrant colored elements including flowers, leaves, and plants. We used the same observational technique, but this time with color. They did a wonderful job, so be sure to check them out!


2nd Grade - Collage Self-Portraits
10/10/2013


To begin this project, we focused on learning about the different styles of line that show movement or suggest movement, as well as the words "collage" and "self-portrait." We took turns drawing different lines on the chalkboard. We talked about how the straight or vertical lines can either look like they are standing still or jumping up, and how wavy, curvy lines look like hopping, running, and skipping.
Second grade explored the difference between portrait and self-portrait. As a class, we discussed what elements we would see in a self-portrait, such as what the artist would incorporate to represent him or herself. Instead of using scissors for this project, we chose to rip out the various shapes we would need for our self-portraits. Using action or movement lines, students were challenged to show themselves completing an action that would best represent them, such as skipping, jumping, or tumbling. These self-portraits not only depict each student’s portrayal of themselves, but also the actions or activities that most represent them.


To begin this project, we focused on learning about the different styles of line that show movement or suggest movement, as well as the words "collage" and "self-portrait." We took turns drawing different lines on the chalkboard. We talked about how the straight or vertical lines can either look like they are standing still or jumping up, and how wavy, curvy lines look like hopping, running, and skipping.
Once we were ready to use our knowledge of lines, we began our self-portrait collage using torn paper shapes. Too often we cut out our shapes but we wanted a different texture with out shapes. I demonstrated how to tear shapes out of construction paper and then they were off! Student chose their pose and tore out the shapes accordingly.
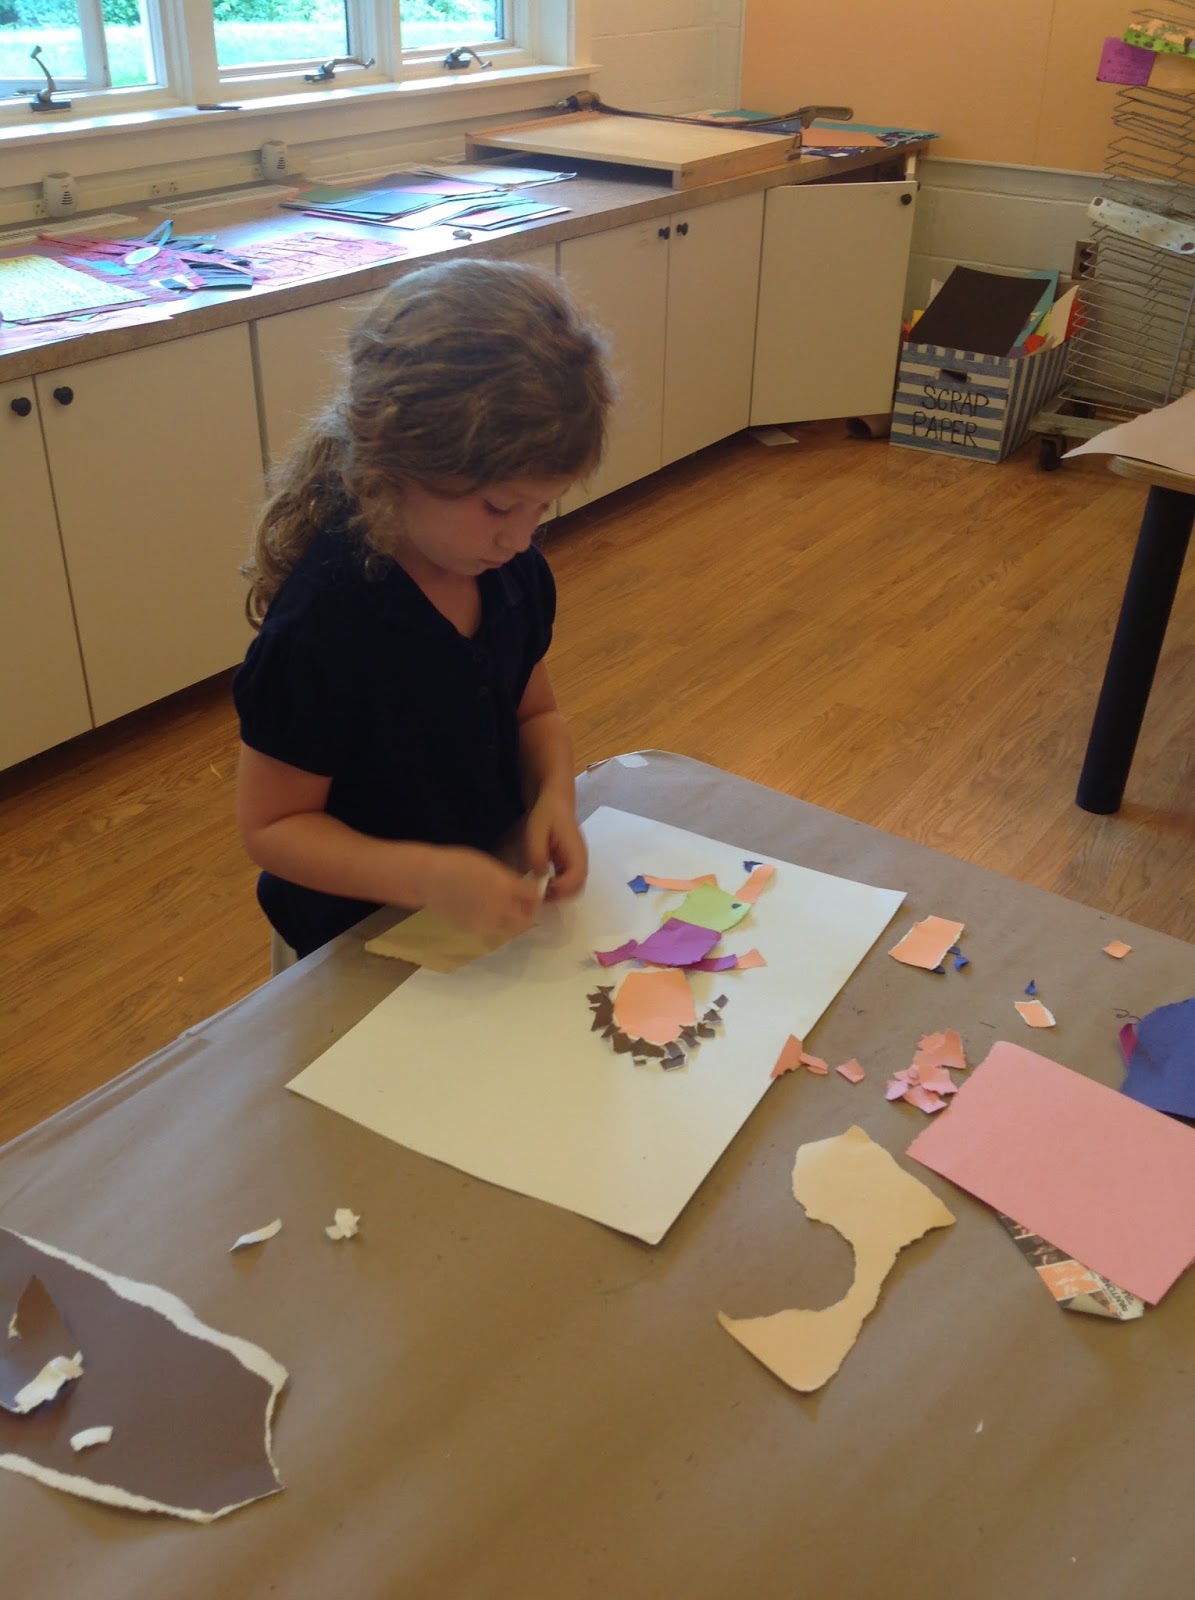


Next, students will add details to their self-portraits and then add their movement/suggested movement lines to the background. This will define the actions that the students' self-portraits are acting out.
Can't wait to see what happens next!
No comments:
Post a Comment